I tested the Luna Lounge set for Jennifer Lauren back in June last year. I thought it seemed like a fun, but practical addition to my mostly-at-home lifestyle with all the unpacking and decorating that was going on around here for most of 2022. I also hit upon the idea of trying out some fabric dyeing and, in particular, some shibori indigo dyeing. I figured that even if it came out terribly, nobody would really be seeing it very much!
The Pattern
The Luna Lounge set is an interesting pattern that is ostensibly a pyjama set, but one where garments can also function as daywear, depending on the fabric you choose.
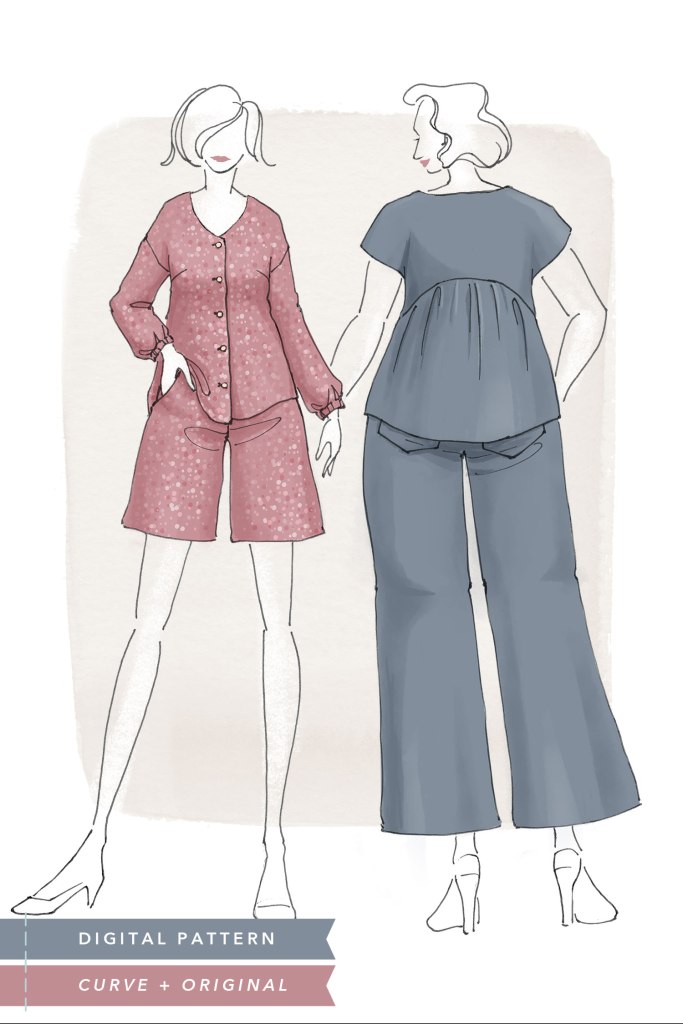
The blouse is slightly oversized with a faced V-neckline and has a choice of plain or peplum back. It also has the choice of short or long sleeves (the latter with an elasticated cuff) and a range of dart options, depending on your cup size. Jennifer is one of the best out there when it comes to thoughtful drafting and detail for curves.
The Luna bottom half comes as long pants or shorts and both are elasticated with pockets. Again, there are some special touches: two waistband widths and an extra pattern piece in the Curve pattern for anyone who usually needs more room in the bum area.
I made the shorts and the short-sleeved top with the peplum in the back. I’m not sure the peplum back was the best choice for a nightwear version, so I’d probably make the regular back for a strictly nightshirt top.
Sizing and Construction
I tested the 18E cup in the Original sizing range. I’m normally a sewing D cup, but Jennifer uses a slightly different way to calculate it. It amounts to the same size at any rate.

I really love Jennifer’s instructions – they’re always very thorough and she often has great tips and ideas for more effective construction. In this project, there’s a great way to overlap the button plackets of the shirt so they’re neat and parallel. I also really liked the drafting of the neckline facing. It sits perfectly flat and is very tidy.

The larger bust sizes have a double dart, which is super and gave me a nice soft curve. If you haven’t come across this before, don’t worry, it’s easy to do!
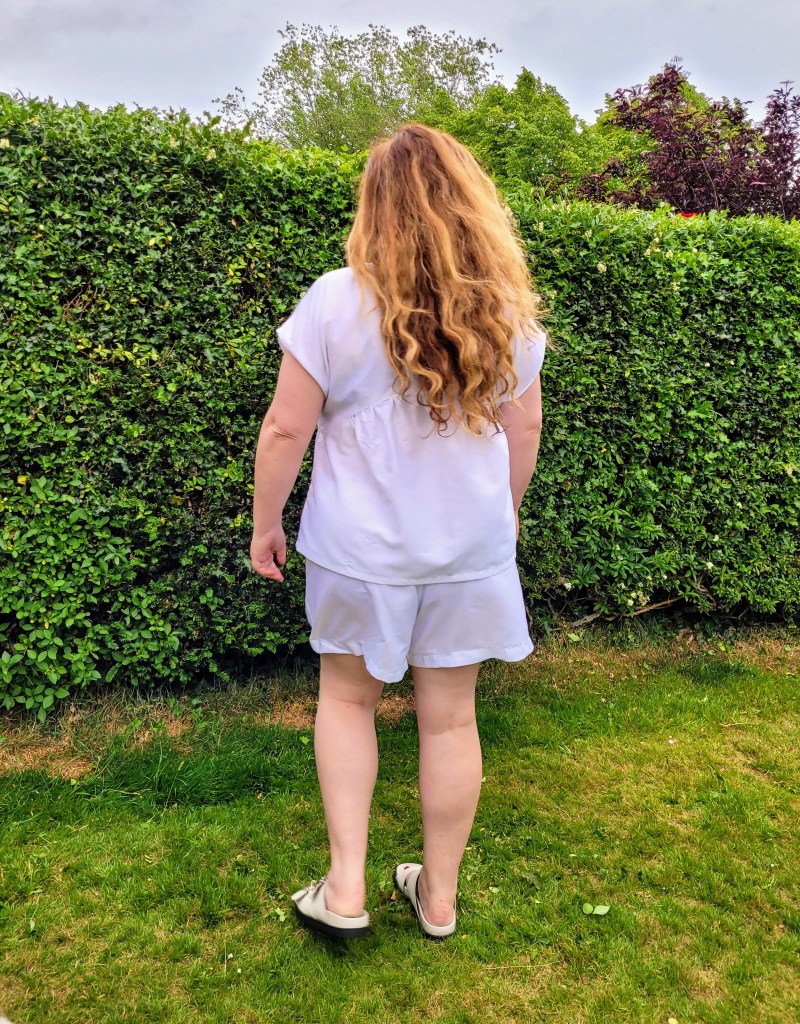
The shorts fit me very well and I have quite a deep crotch, so to speak. I guess for loungewear that’s probably more comfortable, but some people may prefer to shorten the rise a little.
Shibori Dyeing
I signed up for testing not long after I returned to the UK and I quickly realised I didn’t have a ton of fabric options close by to choose from. I was shopping in Dunelm one day (which is a home-type store for non UK people) and hit upon the idea that I could use some white cotton bedsheets to toile the design. It then occurred to me that I could dye them after, which was something I’d been meaning to try, and the idea got me quite excited!
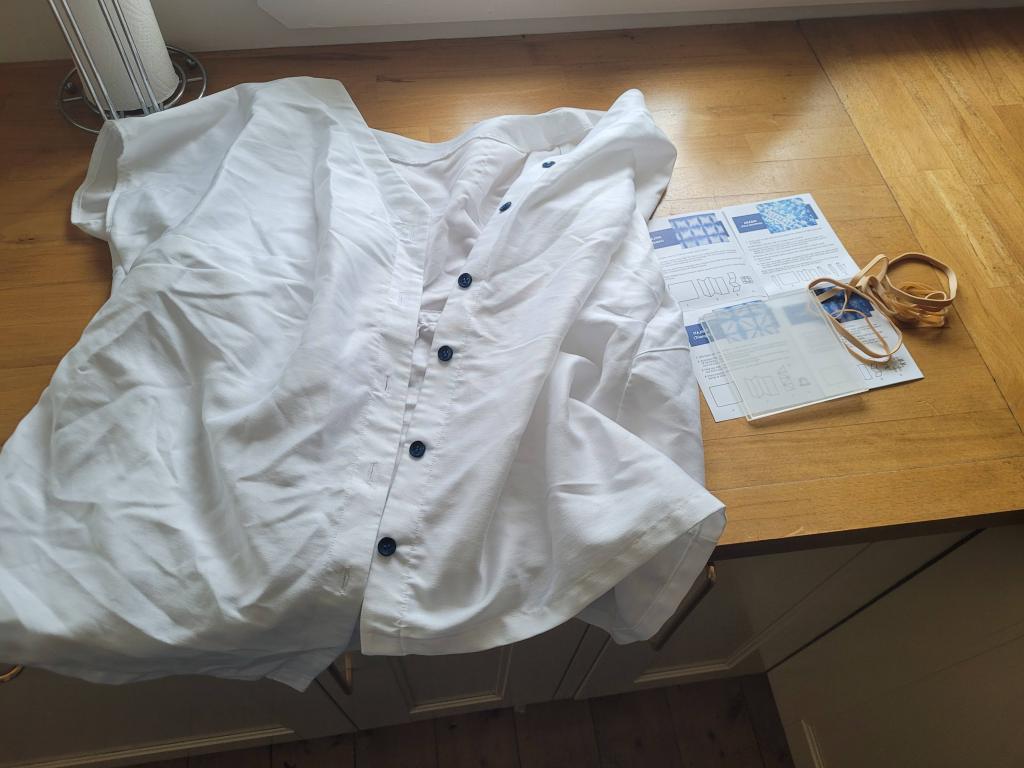
I finished the actual construction of the garment first, to meet the testing deadline and was originally just going to dye the outfit one colour. However, I spotted a Rit Indigo Shibori dyeing kit in the fabric shop and decided I’d give it a go. Shibori is an ancient Japanese dyeing technique that involves tying, twisting, folding or bunching cloth in various ways to produce all sorts of patterns when dyed. Indigo is a traditional colour to use, although apparently madder and purple root are also used to produce purple and red shades.

The kit gives quite a few different variations to try and the equipment to achieve the effect. Quite a few of the patterns I was drawn to involved wapping the fabric round a stick to begin and that unfortunately was impossible with my garment already constructed, so I researched some other techniques.

I went for the Itajime square pattern for the top. This involves folding the fabric up in an accordion shape and securing between square templated with elastic bands. The fact that my garment was already sewn definitely made it more difficult to fold, so I knew I wasn’t going to get a perfect pattern, but did my best to do it neatly.

I realised it would be almost impossible to fold the shorts accordion-style, so went for a technique where you pinch and bind small sections of the fabric to create circles. I didn’t have any elastic bands left, so improvised with string.

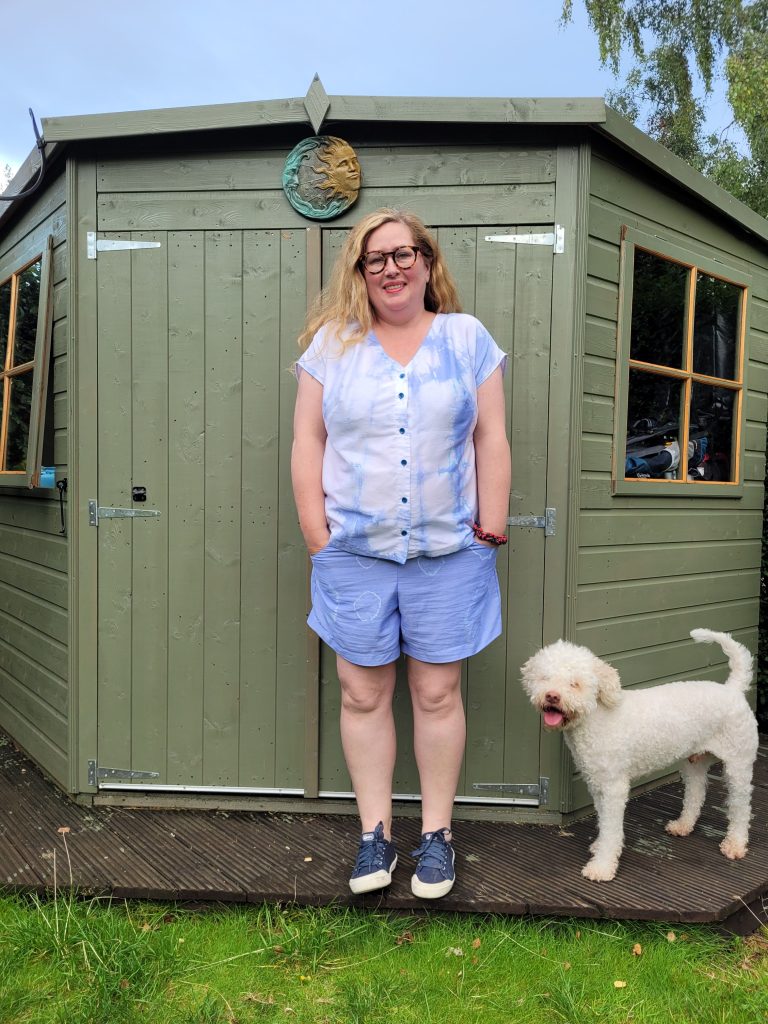
Time to dunk the outfit! The kit says to submerge the fabric for 30-60 mins. It looked quite dark when I took it out, but as you can see, it didn’t turn out very dark by the time I’d rinsed it. I would probably leave it in for longer another time. I’ve also read that the Dharma Trading Shibori kit is a stronger dye, but I’m not sure if I can get that over here in the UK.
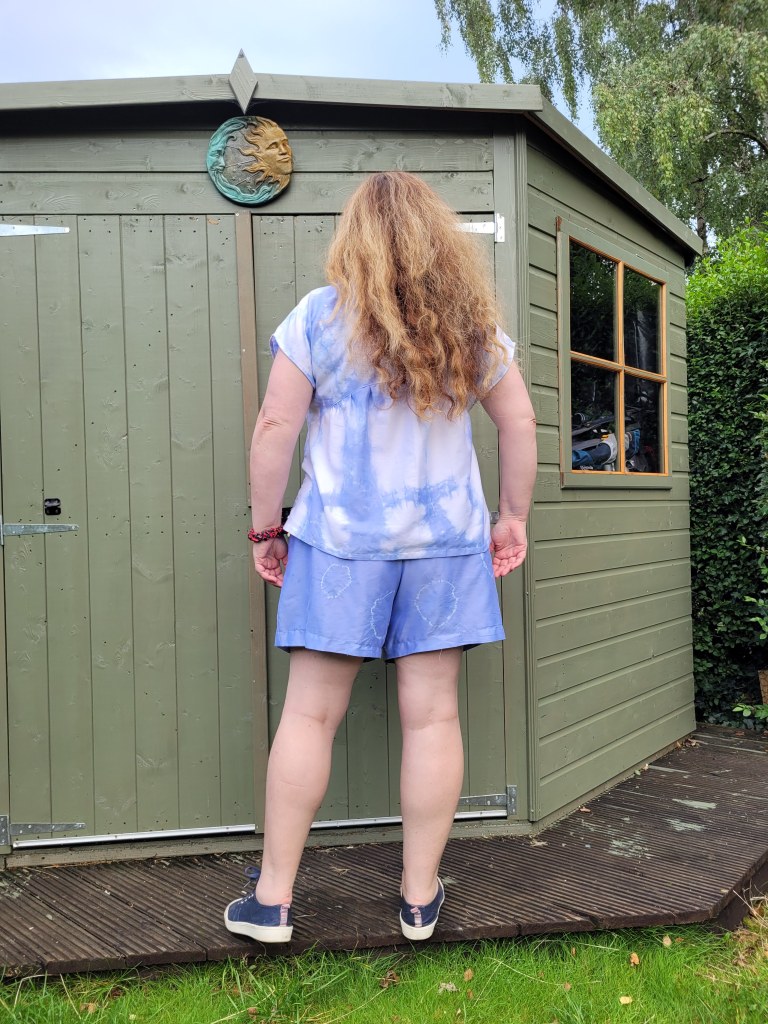
Nevertheless, I like how it all came out – it makes me smile. The top has a kind of square effect going on and I like how it changes across the shirt. The effect on the shorts reminds me a bit of a bacteria culture in a petri dish, but, you know, is that a bad thing? Bacteria around your crotch? You tell me.
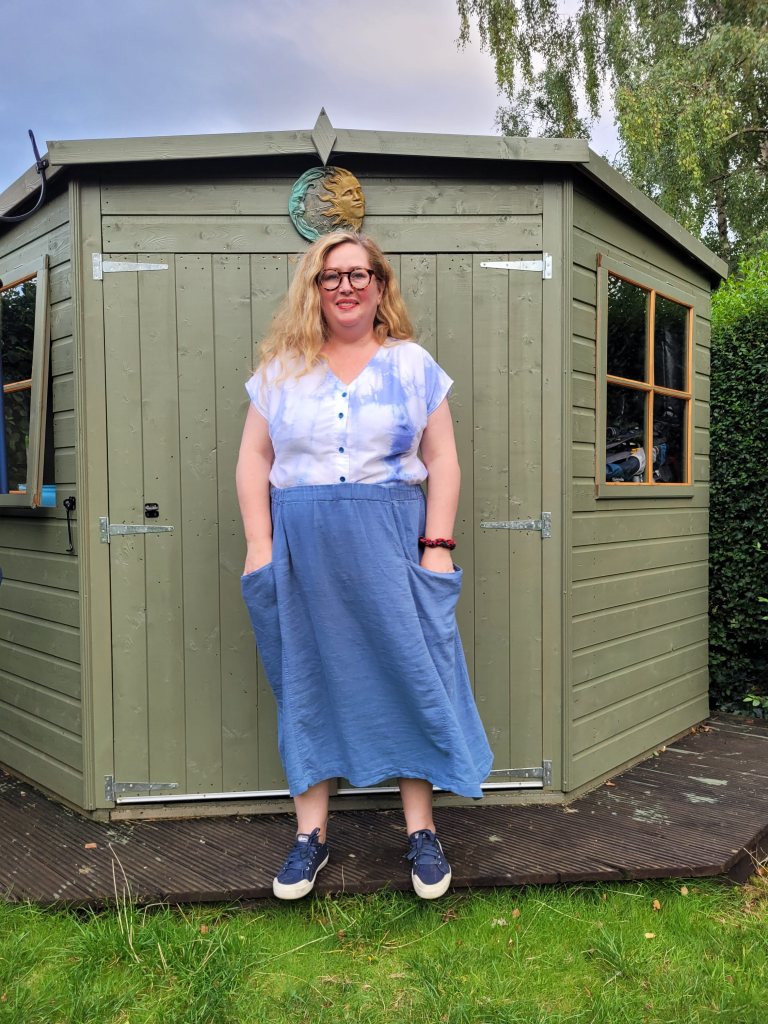
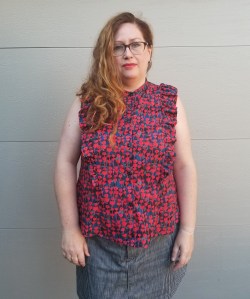
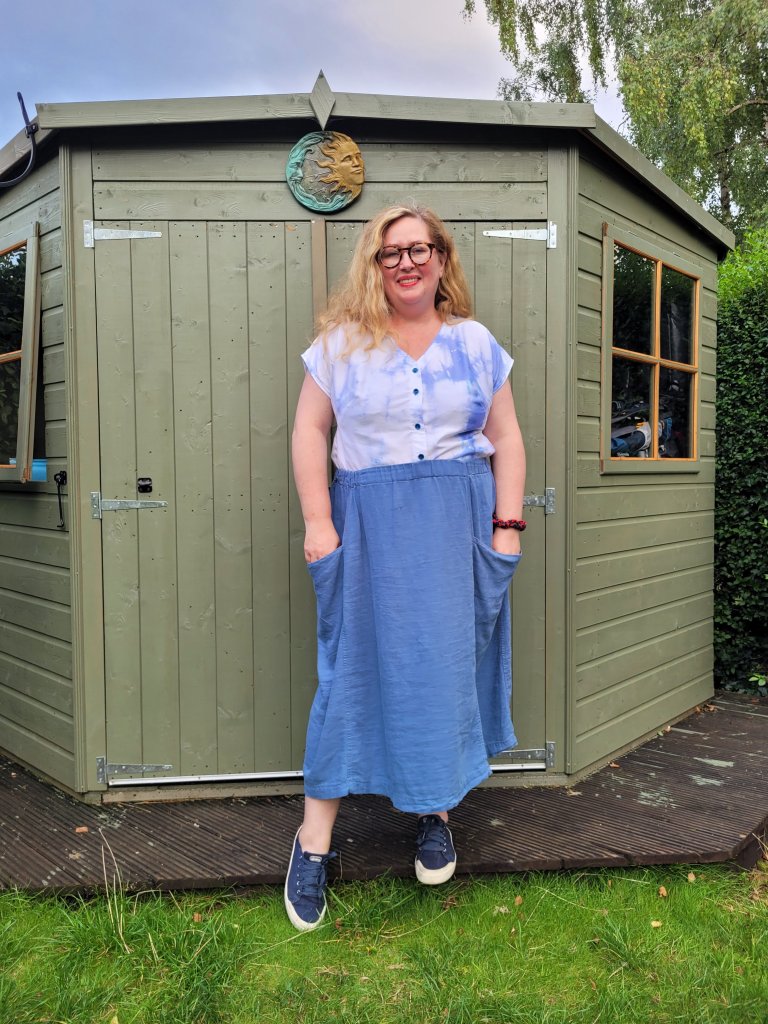
I fully intended this outfit to be something to lounge it at home, but the top is actually very wearable as an outdoors top, as you can see here, paired with my Peppermint Pocket Skirt. I might leave the bacteria shorts for home wear though, lol!
Whew! This was a bit of a long write-up, but I really enjoyed trying out the Shibori dye technique and also sewing up the Luna Lounge Set. It’s something that’s turned out to be very versatile and I wear it quite a lot!

They may not be the color you expected but the color is so pretty! It looks so nice with your Peppermint pocket skirt.
LikeLiked by 1 person
Thank you Blair! Yes, it is a pretty colour; I really like it. I think more dye would show the tie-dye effects a bit more, but it’s definitely not a bad hue. 🙂
LikeLike
Love the Petri dish shorts! The set looks great. I haven’t used any Jennifer Lauren patterns. So good to hear your experience.
LikeLiked by 1 person
Good and pretty look colour.
Nice you sharing your sewing short new sleepwear. Love the short. Looks great!
LikeLike
I love how your Shibori dying turned out for you! Love the sleep shorts and the top!!
LikeLike
I enjoyed reading your thoughts on the pattern drafting for an indie company that I’ve not seen before. The dying project seems like an interesting challenge. I do like the final results!
LikeLike